How to Prepare Your Patio Base Using Sharp Sand and Cement
A solid, level base is essential for creating a long-lasting patio. One of the key materials used in building this base is sharp sand, which must be mixed with cement to provide the strength needed to keep paving slabs stable. In this guide, we’ll walk you through how to prepare a patio base using sharp sand and cement for a durable, professional finish.
Why Use Sharp Sand?
Sharp sand, also known as grit sand or coarse sand and part of our Quarried Sand & Ballast range, has a gritty texture and larger particles than building sand. This makes it ideal for mixing with cement when laying patios, as it provides excellent drainage and a strong, stable base. However, paving slabs should never be laid directly onto sharp sand alone, as this can lead to shifting or sinking over time. A wet mix of sharp sand and cement offers a far more secure solution.
Step 1: Plan and Mark Out the Patio Area
Start by measuring and marking out your patio area with string lines or wooden pegs. Decide on the layout and whether to include a slight slope (known as a fall) to allow for drainage. Remove any turf or topsoil to a depth of approximately 150–200mm, depending on the thickness of your chosen slabs.
Step 2: Install the Sub-Base
Before applying the sand and cement mix, you’ll need a solid sub-base. Use MOT Type 1 or a similar crushed stone. Spread it evenly to a depth of around 100mm and compact thoroughly using a vibrating plate compactor. This layer forms the foundation of the patio and helps prevent any movement over time.
Step 3: Prepare and Lay the Wet Mix
With the sub-base in place, mix sharp sand and cement at a ratio of 5:1 (five parts sharp sand to one part cement). Add just enough water to form a damp, workable consistency — moist enough to bind, but not overly wet.
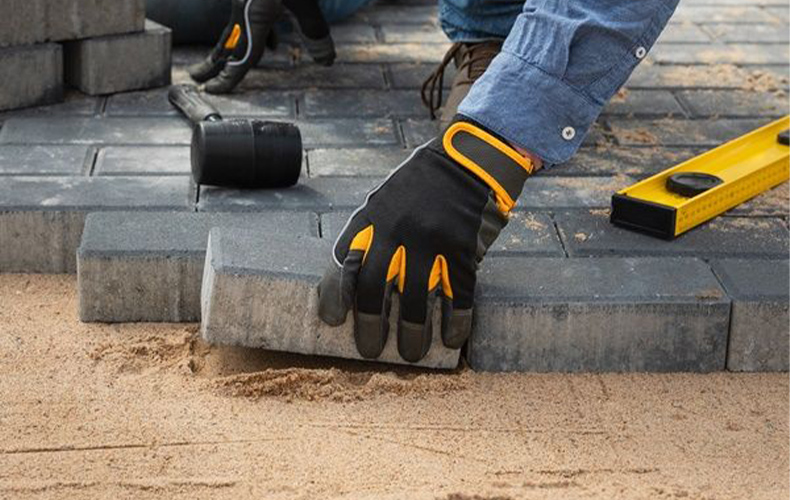
Spread the mix across small sections of the area to a depth of around 30–50mm. Lay each slab onto the wet mix, tapping it down gently with a rubber mallet. Use a spirit level to check each slab is even and properly aligned with the others. The wet mix ensures the slabs are firmly held in place.
Step 4: Jointing and Finishing
Once all the slabs are laid and level, fill the joints using kiln-dried sand or a suitable jointing compound. If using kiln-dried sand, lightly water the area so the sand settles into the joints. Allow the patio to fully set and cure before using.
By following these steps, you can achieve a strong, reliable patio base that will stand the test of time.
Visit the Mainland Aggregates Ltd website for more information on How to Prepare Your Patio Base Using Sharp Sand and Cement
ENQUIRY FORM